
You know Moana's a rock-solid pick for Halloween this year. The question is, how far will you go to become Moana? Are you going to just slap on a cream skirt and a red bandeau? Or do you want to go all out and end up with the finished product like YouTuber Gladzy Kei did?

If you really love Moana, you owe it to her to really rock this costume out.
She's descended from a long line of nomads who launch their ships in search of new islands. But she's also launched a thousand think pieces on representation and role models for girls in cartoons. And for a good reason, too — she solo navigates the open seas, saves her village (and the world) from ecological destruction, and redeems a disgraced demigod along the way. Oh, and the only love interests she feels bound to are her island, her people, and the ocean (the order of this is highly debatable).
You can check out Gladzy Kei's full video guide to becoming Moana at the bottom of this article, but in the meantime, we've broken it down into a step-by-step tutorial. Follow along, because we know the way to make Moana's necklace, the Heart of Te-Fiti, and her full costume.
Crafting the Heart of Te-Fiti
The Heart of Te-Fiti is the gemstone that Moana returns to the goddess Te-Fiti to save the world from decay and restore life to it. Moana wears the amulet around her neck all through the movie, and in craft terms, it's basically a pendant.
What you'll need to craft the Heart of Te-Fiti:
- heat gun or hairdryer
- clear thermoplastic
- black thermoplastic
- dark blue, light blue, white, and black acrylic paint
- fine-tipped brush
- scissors
- sculpting tool (you can use the back end of a firm toothbrush or a spoon with a narrow but rounded edge in a pinch)
- pencil
- paper
- marker
- brown string
- ivory or white beads (you want them to look like pearls)
- D-ring
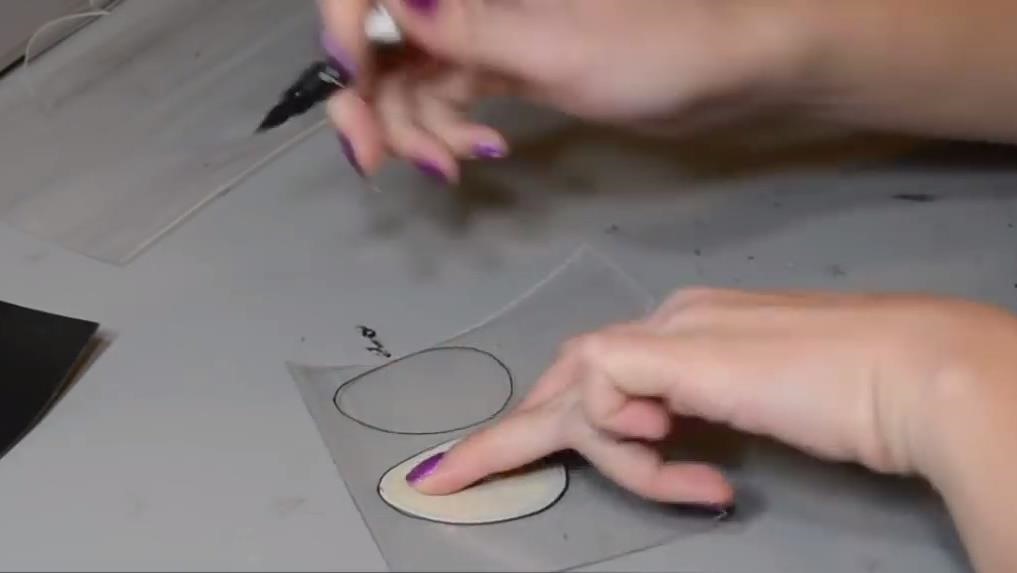
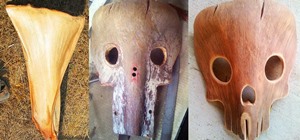
Step 1: Mold the Heart of Te-Fiti
Draw a slightly-pointy egg shape on a piece of paper and cut it out. Using a marker, trace around that shape six to eight times on your clear thermoplastic sheet, tracing out several egg-shaped pieces of plastic. Don't worry about the marker lines; we'll be painting over the plastic later in the tutorial.
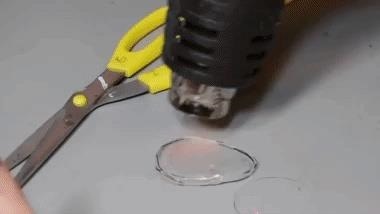
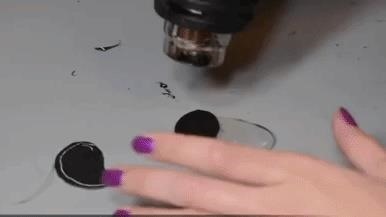
Cut all the pieces out, heat them up with your heat gun, and stack them on top of each other.
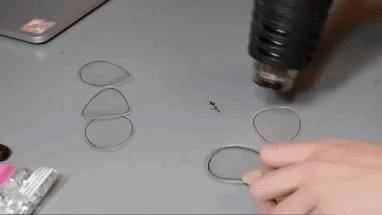
While hot, use your sculpting tool to soften the edges and mold the plastic together. Don't use your fingers, as the thermoplastic gets really hot when it's mold-able.
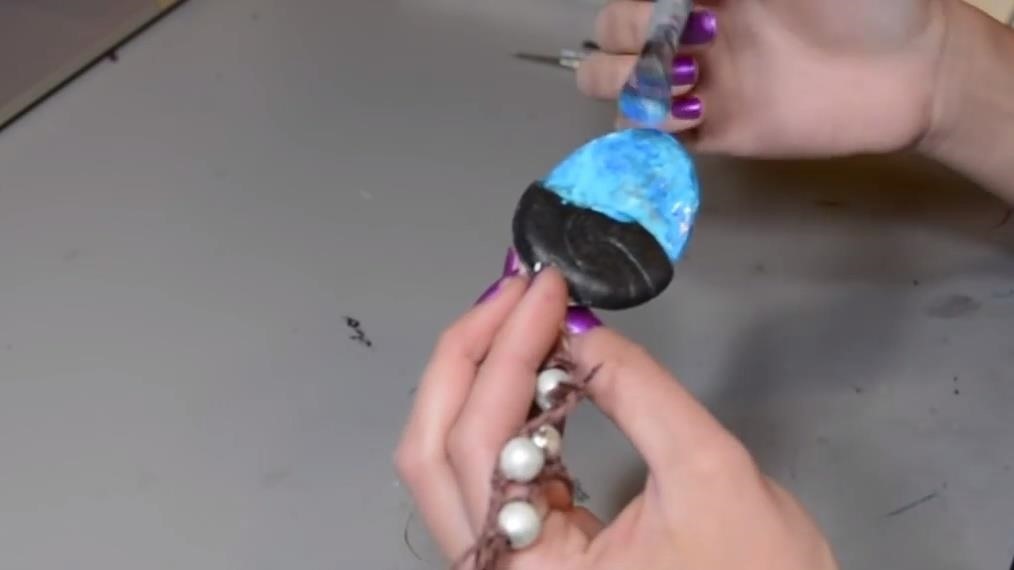
Step 2: Add the D-Ring
Cut out two identical leaf shapes from your black thermoplastic. The leaf's outline should be ever-so-slightly bigger than your clear thermoplastic's thicker, rounded end, which will become the top of the pendant. Heat one leaf and lay it over your clear thermoplastic core and give it a blast with your heat gun. Use your sculpting tool to make the leaf hugs the core snugly.
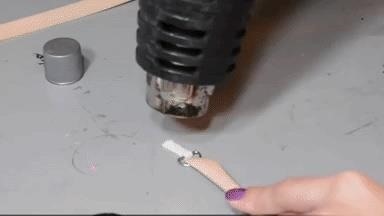
Cut a small rectangular strip of thermoplastic (either clear or black, it doesn't matter) and loop it through your D-ring (in the GIF below, gladzykei uses Wonderflex, but you can just use more of your thermoplastic). Arrange the loop so that the two ends meet, and hit it with some heat to seal them together. Flip the Heart of Te-Fiti over and position the D-ring at the top of the Heart of Te-Fiti's still-bare back.
Apply heat with your heat gun and the thermoplastic looped through the ring will stick to the Heart of Te-Fiti. Add your second leaf-shape over the top to conceal the D-ring's thermoplastic loop, then heat and mold it in place as well, making sure the two halves of the black thermoplastic cover the outer edge of the pendant.
Step 3: Layer & Etch Details
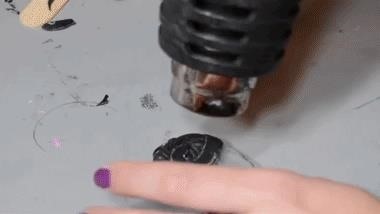
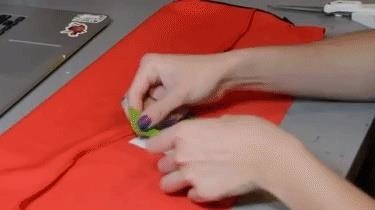
Cut out a hook shape from your black thermoplastic and heat-mold it to the front side of your Heart of Te-Fiti (the side with the D-ring is the back of the pendant).

Once the hook shape is stuck fast, heat up the whole front face of the black thermoplastic and use your sculpting tool to etch lines into the black thermoplastic in the background, and little arrows for the black thermoplastic in the foreground.
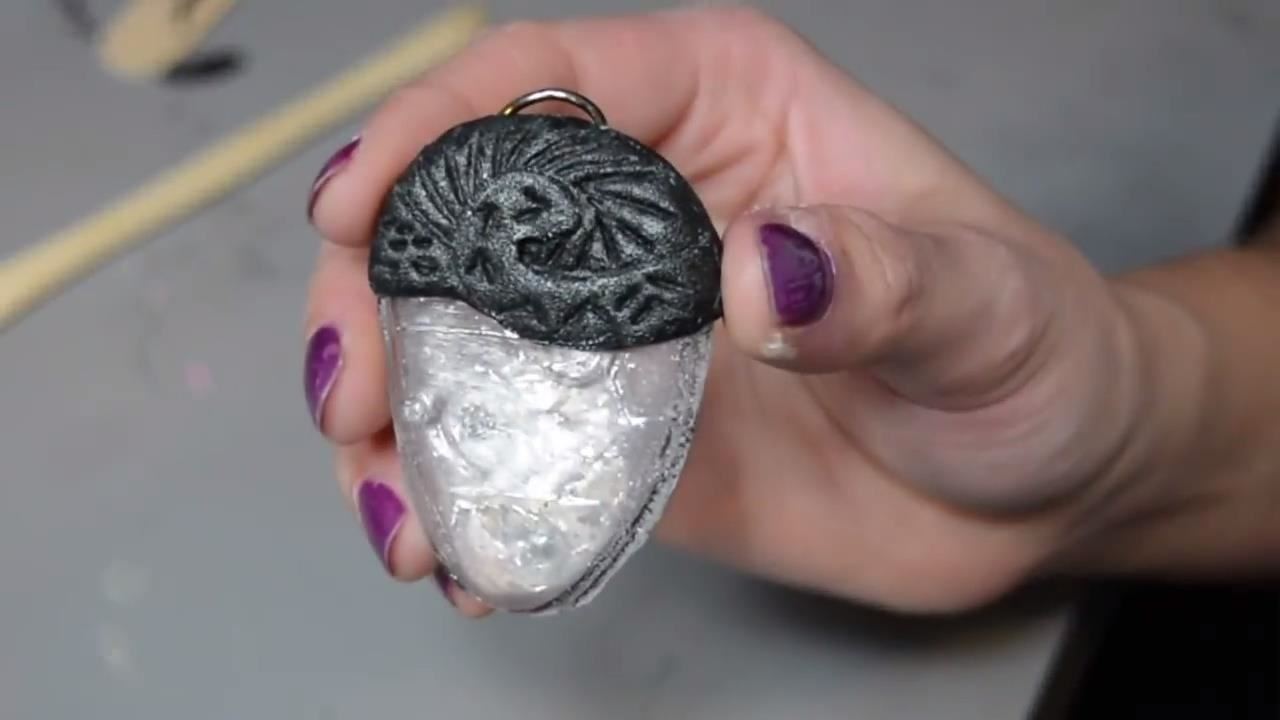
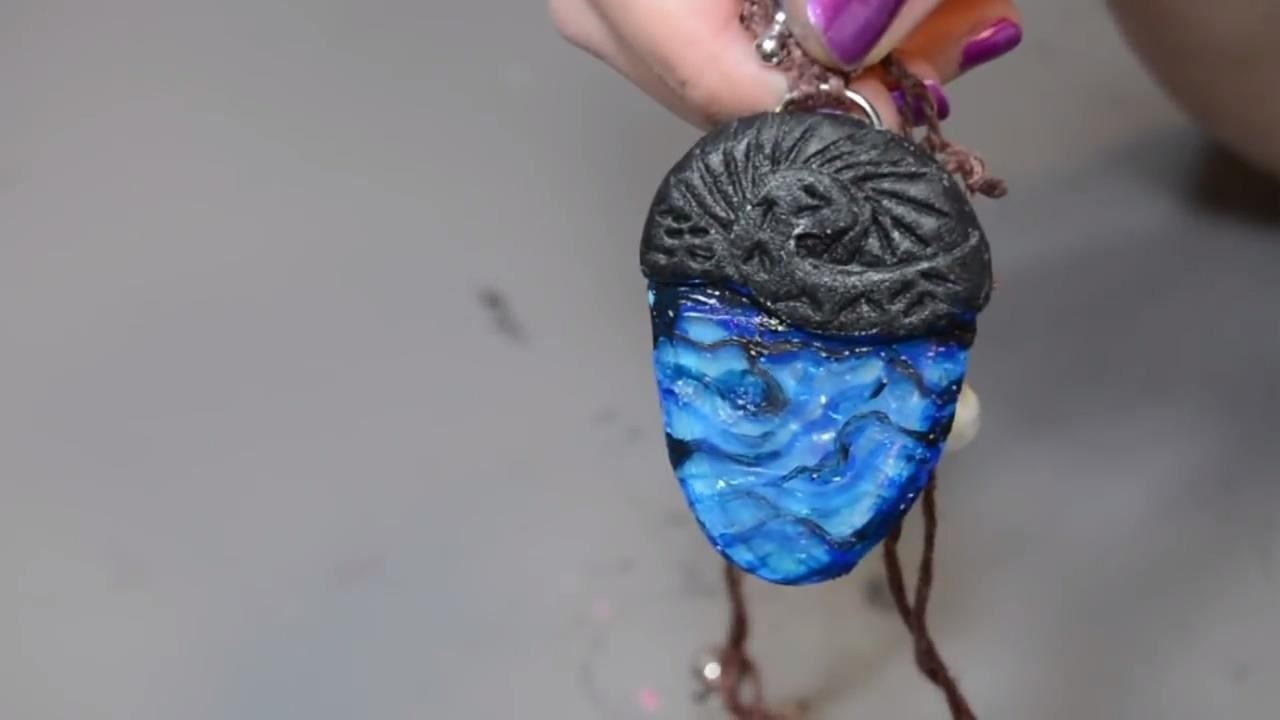
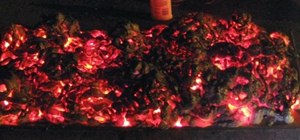
When all that's done, you should end up with something that looks like this:
Step 4: Tie the Necklace
Tie your string to the D-ring and slide some pearls onto the string to your preference. Make sure you tie stopper knots on either side of the beads, so they don't slide around.

Step 5: Paint!
Give both sides of your clear thermoplastic a coat of light blue paint. In gladzykei's tutorial, she blends ultramarine blue, teal, and white to get the color.
Then add wavy patterns to the front in darker blue using a fine-tipped brush.
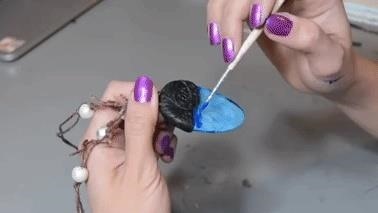
Finally, add black detailing to highlight the wavy patterns in places. Paint over any blue paint you got on the black thermoplastic.
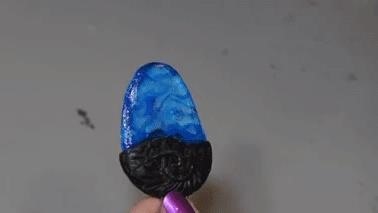
And that's the Heart of Te-Fiti finished!
Moana's Bandeau
The second part of the costume is Moana's bandeau, which we'll be making with a zipper to make it easier to get dressed on Halloween.
What you'll need:
- X-Acto knife
- sponge
- zipper
- orange fabric
- masking tape
- white and brown trim
- sewing machine or kit, pins, and thread
- dark brown acrylic paint
Step 1: Cut & Sew the Bandeau
First, cut your orange fabric to a length that goes snugly around your bust. You want the height to be about one-and-a-half times the distance from the top of your bust to the base of your ribcage. Cut along one long edge to give it a slightly uneven wave pattern. Fold this edge downwards roughly to the middle of the fabric. Cut a soft wavy pattern on the opposite long edge of the fabric (this will be the bottom of the bandeau). Then, with the top still folded over, use your sewing machine to attach the zipper to both short ends of the fabric.
Step 2: Stencil on the Prints
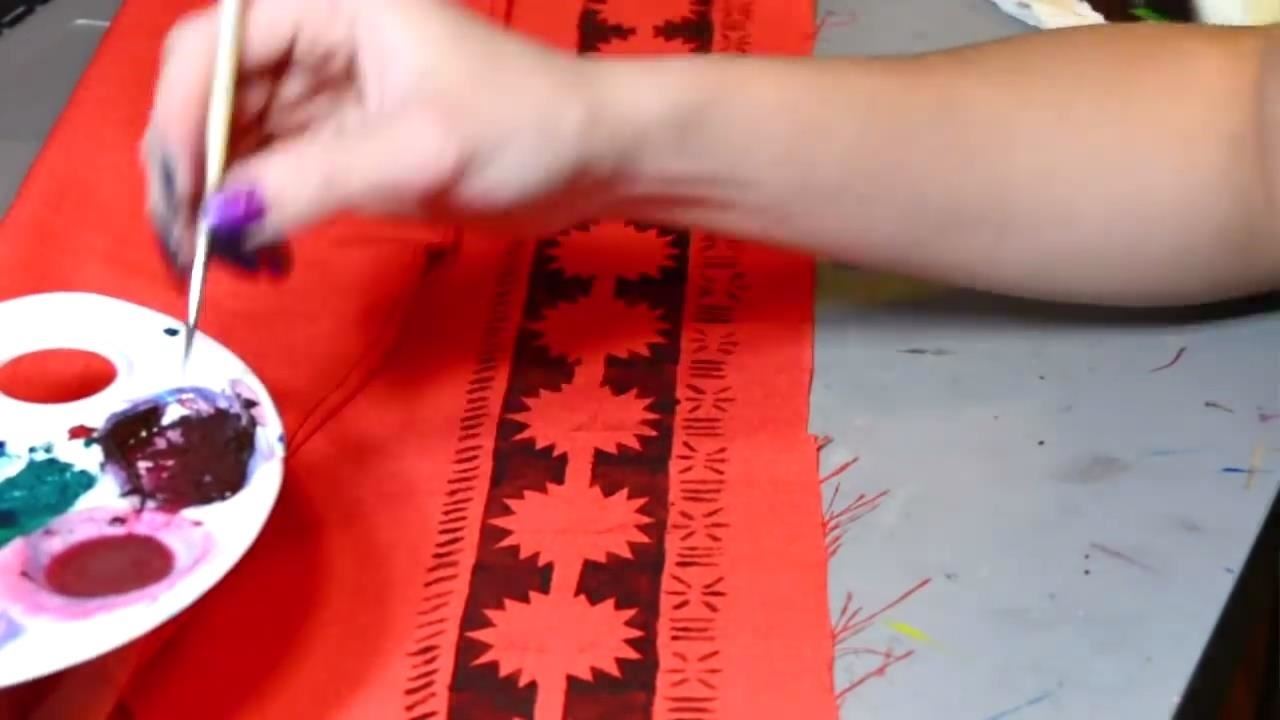
Cut a sunburst stencil out from a piece of paper and reinforce it with masking tape. Use a sponge and some slightly diluted acrylic paint to stencil the sunbursts in a series, centered about two inches above the bottom edge.
Then add details like lines and stars underneath it by hand with a fine-tipped brush.
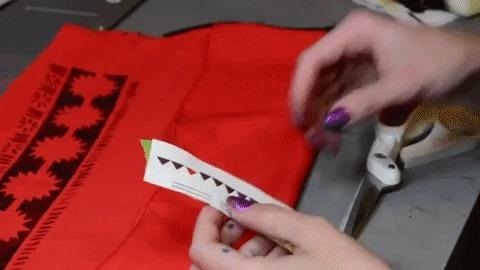
Cut a series of little Vs into the edge of a piece of paper and tape another piece of paper against the mouths of the Vs so you have a stencil of triangles. Stencil the triangles in against the top edge of the bandeau.
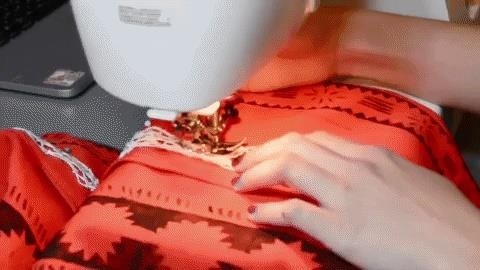
Step 3: Add Trims
Pin and sew the white trim to just above the middle of the bandeau, so that you can still see the wavy seam you folded down.
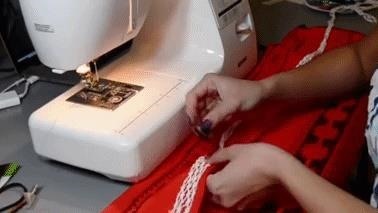
Then pin and sew the brown trim right on the wavy seam in the middle of the bandeau.
Moana's Skirt
The last component left is Moana's printed, two-layered skirt. You're almost there!
In addition to some of the material we've already used, you're also going to need:
- cream, canvas-like fabric for skirt
- thick safety pin
- light brown acrylic paint
Optional accessory:
- Raffia for skirt
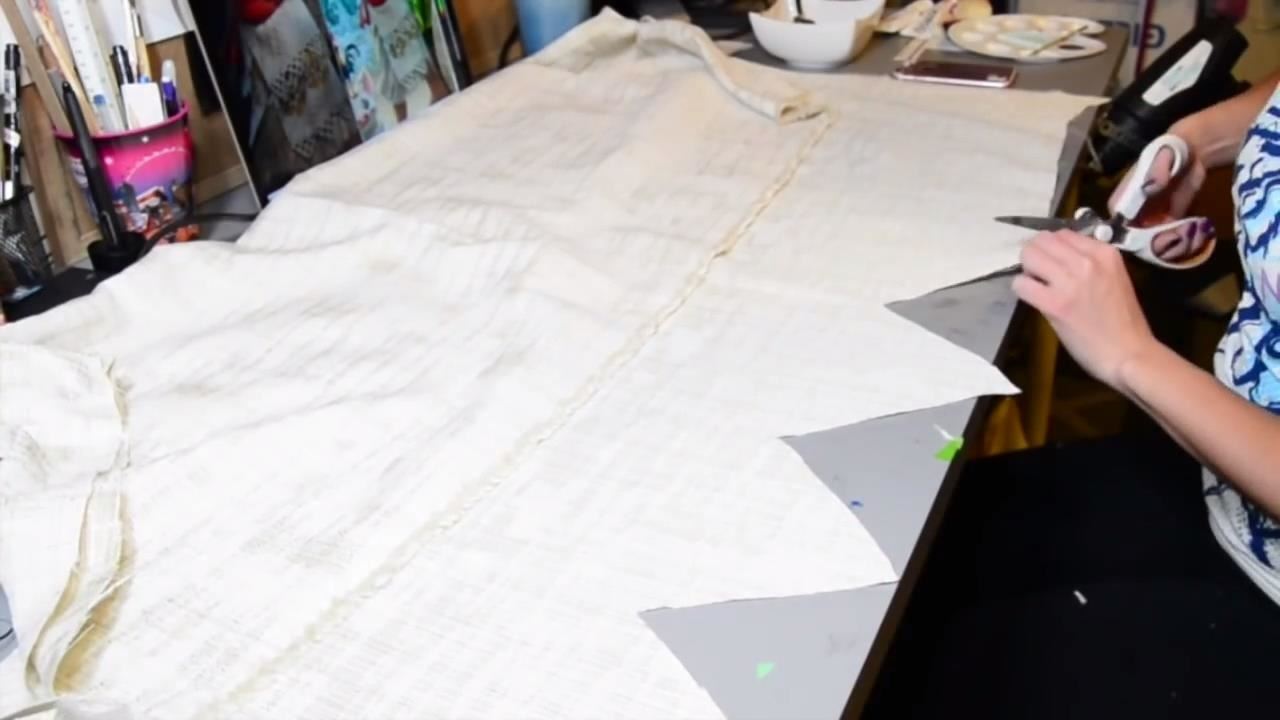
Step 1: Cut-Outs for Moana's Skirt
Cut your canvas-like fabric down to size. You want it to be wide enough to go all the way around your hips (and a little more), and one-and-a-half times as tall as the final skirt length you prefer.
Fold the fabric in half such that the ends that are parallel to the ground meet. Cut big triangles out of both layers of material.
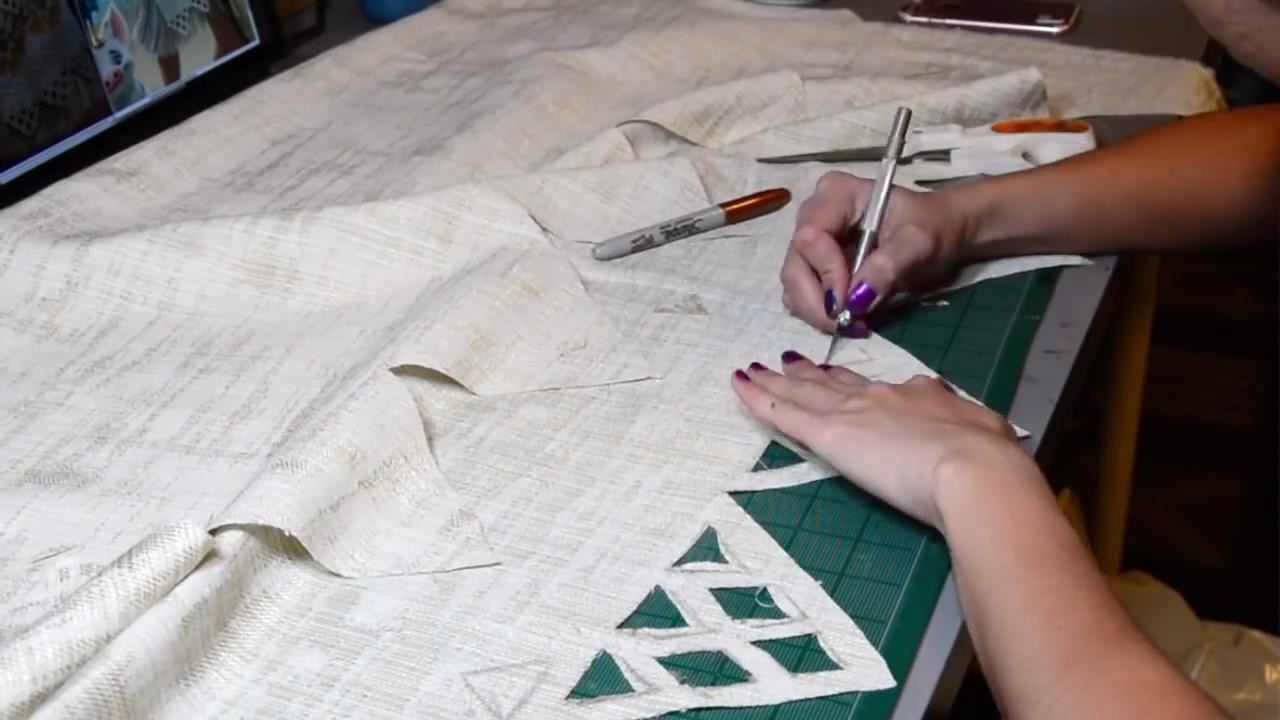
Pencil in triangles and diamonds inside of each of the big triangles, then use your X-Acto knife to cut the shapes out.
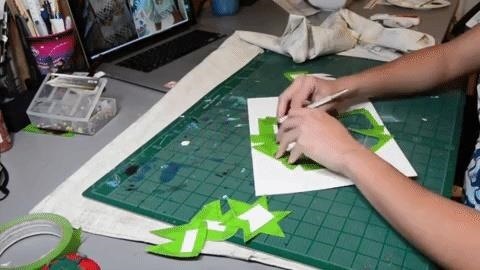
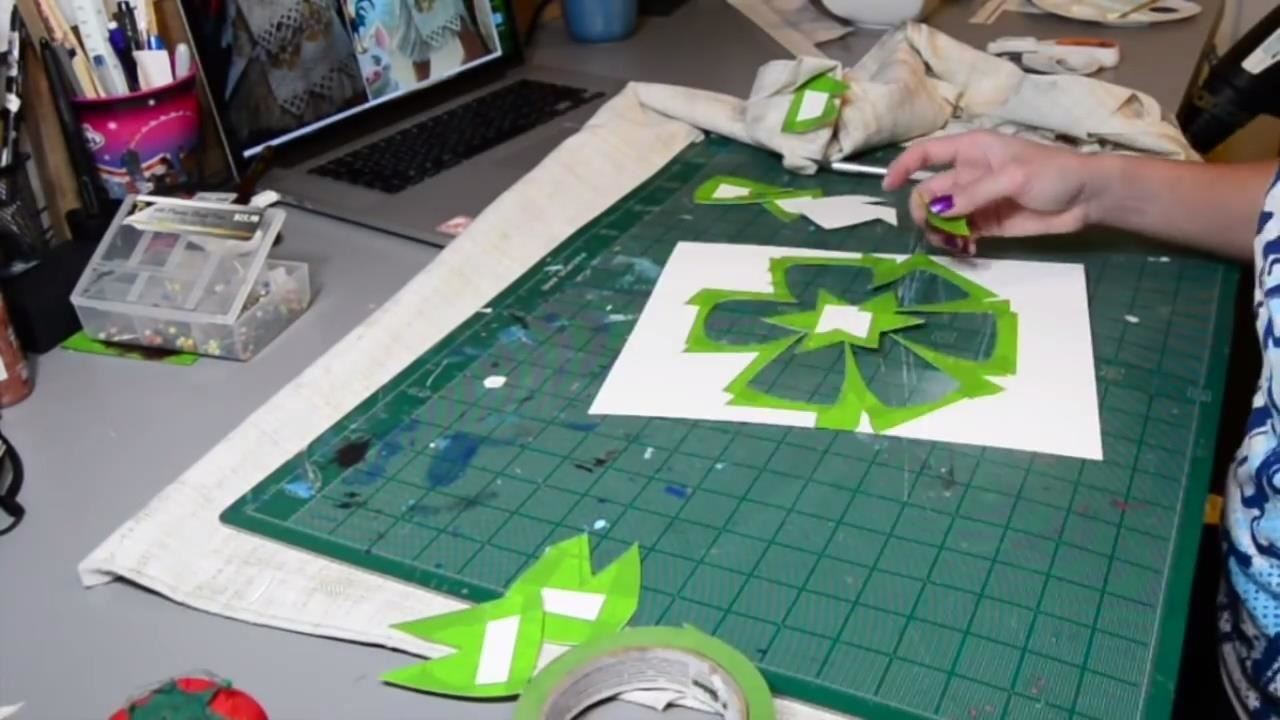
Step 2: Flower Stencil
Cut a big flower stencil out of a piece of paper and reinforce it with masking tape.
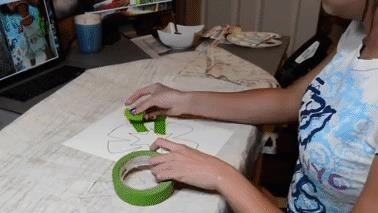
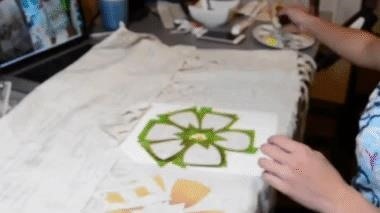
Use a sponge to stencil a series of flowers in just above one of your rows of big triangles. Fill the stencil with light brown paint, then add dark brown paint to the center of the flower in a gradient (the light brown paint must still be wet for this to work).
Once the paint is dry, fold the skirt such that the end with the flowers is on the bottom, and the other series of triangles sits just above them, in the middle of the skirt. Put on your Raffia skirt first (crop the length and width if necessary) and layer the canvas skirt over it. Use a safety pin to hold it in place.
Put It All Together!
Once you've got your skirt on, tie your leftover orange fabric around your hip like a scarf (use it to hide the safety pin so it doesn't break the Moana illusion!).
All that's left to do is zip up your bandeau, don your Heart of Te-Fiti, and put on your wig — oh, and bring your makeup A-game, too — and you're done!

Follow Along with the Video
You can also follow along with Gladzy Kei's video if you need to scrutinize any detailed work she does while you make your costume. Let us know how your Moana costume went in the comments below! Did you pull off Gladzy Kei's ambitious costume, or did you go a step further and add your own flourishes?
Just updated your iPhone? You'll find new emoji, enhanced security, podcast transcripts, Apple Cash virtual numbers, and other useful features. There are even new additions hidden within Safari. Find out what's new and changed on your iPhone with the iOS 17.4 update.


Be the First to Comment
Share Your Thoughts