


You can bet Thor costumes will be prominent among the superheroes seen this Oct. 31. Since the summer, there has been no shortage of coverage for Thor: Ragnarok, and the timing of its November release couldn't be better as a tie-in with the cosplaying holiday known as Halloween. This year, the success of pulling off the Thor costume will rely on how well your new Thor helmet looks, which as it happens, you can DIY at home, using a few simple supplies and perhaps a trip or two to the craft and hardware store.
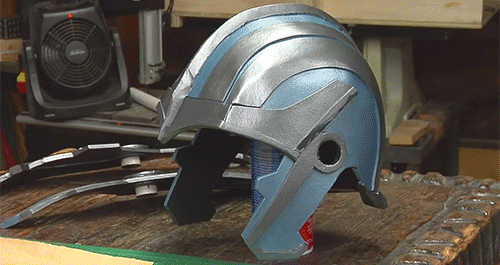
YouTuber Odin Makes shares the details on how to make your very own Thor costume helmet in a step-by-step tutorial that's nothing short of cool. Using craft foam and exercise mats, he manages to craft an articulated Thor helmet that looks pretty close to metal, heavy as Asgardian uru, but feels light as ... well, foam.
Materials You Will Need:
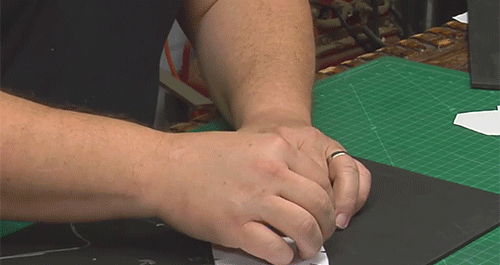
As said, this DIY Thor helmet makes the most of foam. You may already have a fitness mat or two lying around, but if not, a quick trip to your local Michael's, Lowe's and/or Home Depot will get you all set.
- craft foam (5mm for the helmet, black if possible)
- craft foam (3mm, 2mm for the helmet details, any color)
- exercise/floor mat
- straight pins
- markers
- heat gun (hair dryer can work too as a substitute)
- disc/belt sander (to shape the foam)
- X-Acto blade or box cutter
- wire coat hanger (to hold the wings' shape)
- glue, hot glue gun
- PVC pipe (optional for wings)
- fender washer, screws, binding post (optional, if you want your wings to move)
- Plasti Dip
- metallic craft paint
- black acrylic paint
- plastic (like from retail packaging)
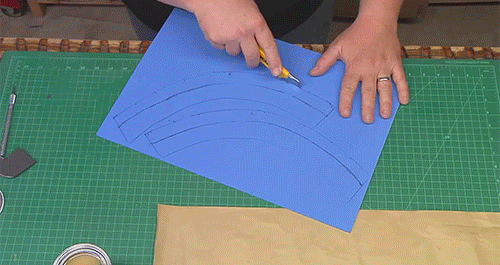
Odin Makes simplifies the most challenging part of the process: getting the helmet size right. Indeed, with his free PDF pattern, this task is done. Simply print the pattern (scaled to your measurements), cut out the template pieces, and start carving up your foam to make your very own Thor helmet.
Assembling Thor's Costume Helmet
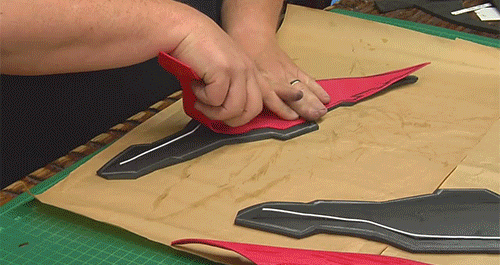
Because the helmet pattern is provided, this tutorial basically becomes a kit. Once your foam pieces are cut out, it's just a matter of putting them together: starting with the helmet base, followed by the helmet details, and then lastly, the wings. Note that for the wings, you can always glue them in place and be done with it, but if you wish to have them move like Thor's, then you'll need to add the cut PVC pipe and fender washer/screw/binding post combination.
After you've put your helmet together, give it a Plasti Dip blast, and then paint it using metallic craft paints. To give your Thor costume helmet that battle-tested look, use three basic colors: sapphire blue, pewter, and black. As with the assembly, paint the helmet piece by piece, layer by layer.
Completing Thor's 'Ragnarok' Costume
With this helmet, you're pretty much ready to rock Halloween as the famous Asgardian prince, son of Odin. However, if you would like to pair Thor's helmet with his armored outfit, too, then you can easily DIY this as well, and modify it to his Ragnarok look (e.g., add his blue shin guard).
The great thing about Thor's Ragnarok costume look is that you don't need a long-haired wig to get it right. This time around, Thor's golden locks are all gone, and all you really need to become the God of Thunder is his trademark, winged helmet.
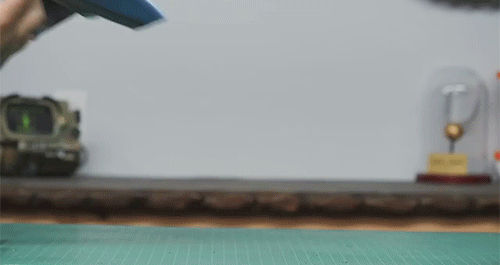
Cover image via Odin Makes/YouTube


Comments
Be the first, drop a comment!